I like to have projects. And if those projects can have a dose of Disney, count me in!
A few years ago, I was in my main floor powder room and I had an idea to give it an UPdate. I tend to feel like we have to be careful with the modifications we do to our home (even though it’s OUR home) because it’s THE Up House. But, I know that this half-bathroom has nothing to do with the movie and was an addition to our house that Blair-the-builder added because a real family would be living here and it wasn’t the animated house. Thus, I can modify this half-bathroom any way I please. Let the games begin!
Curiouser and Curiouser!
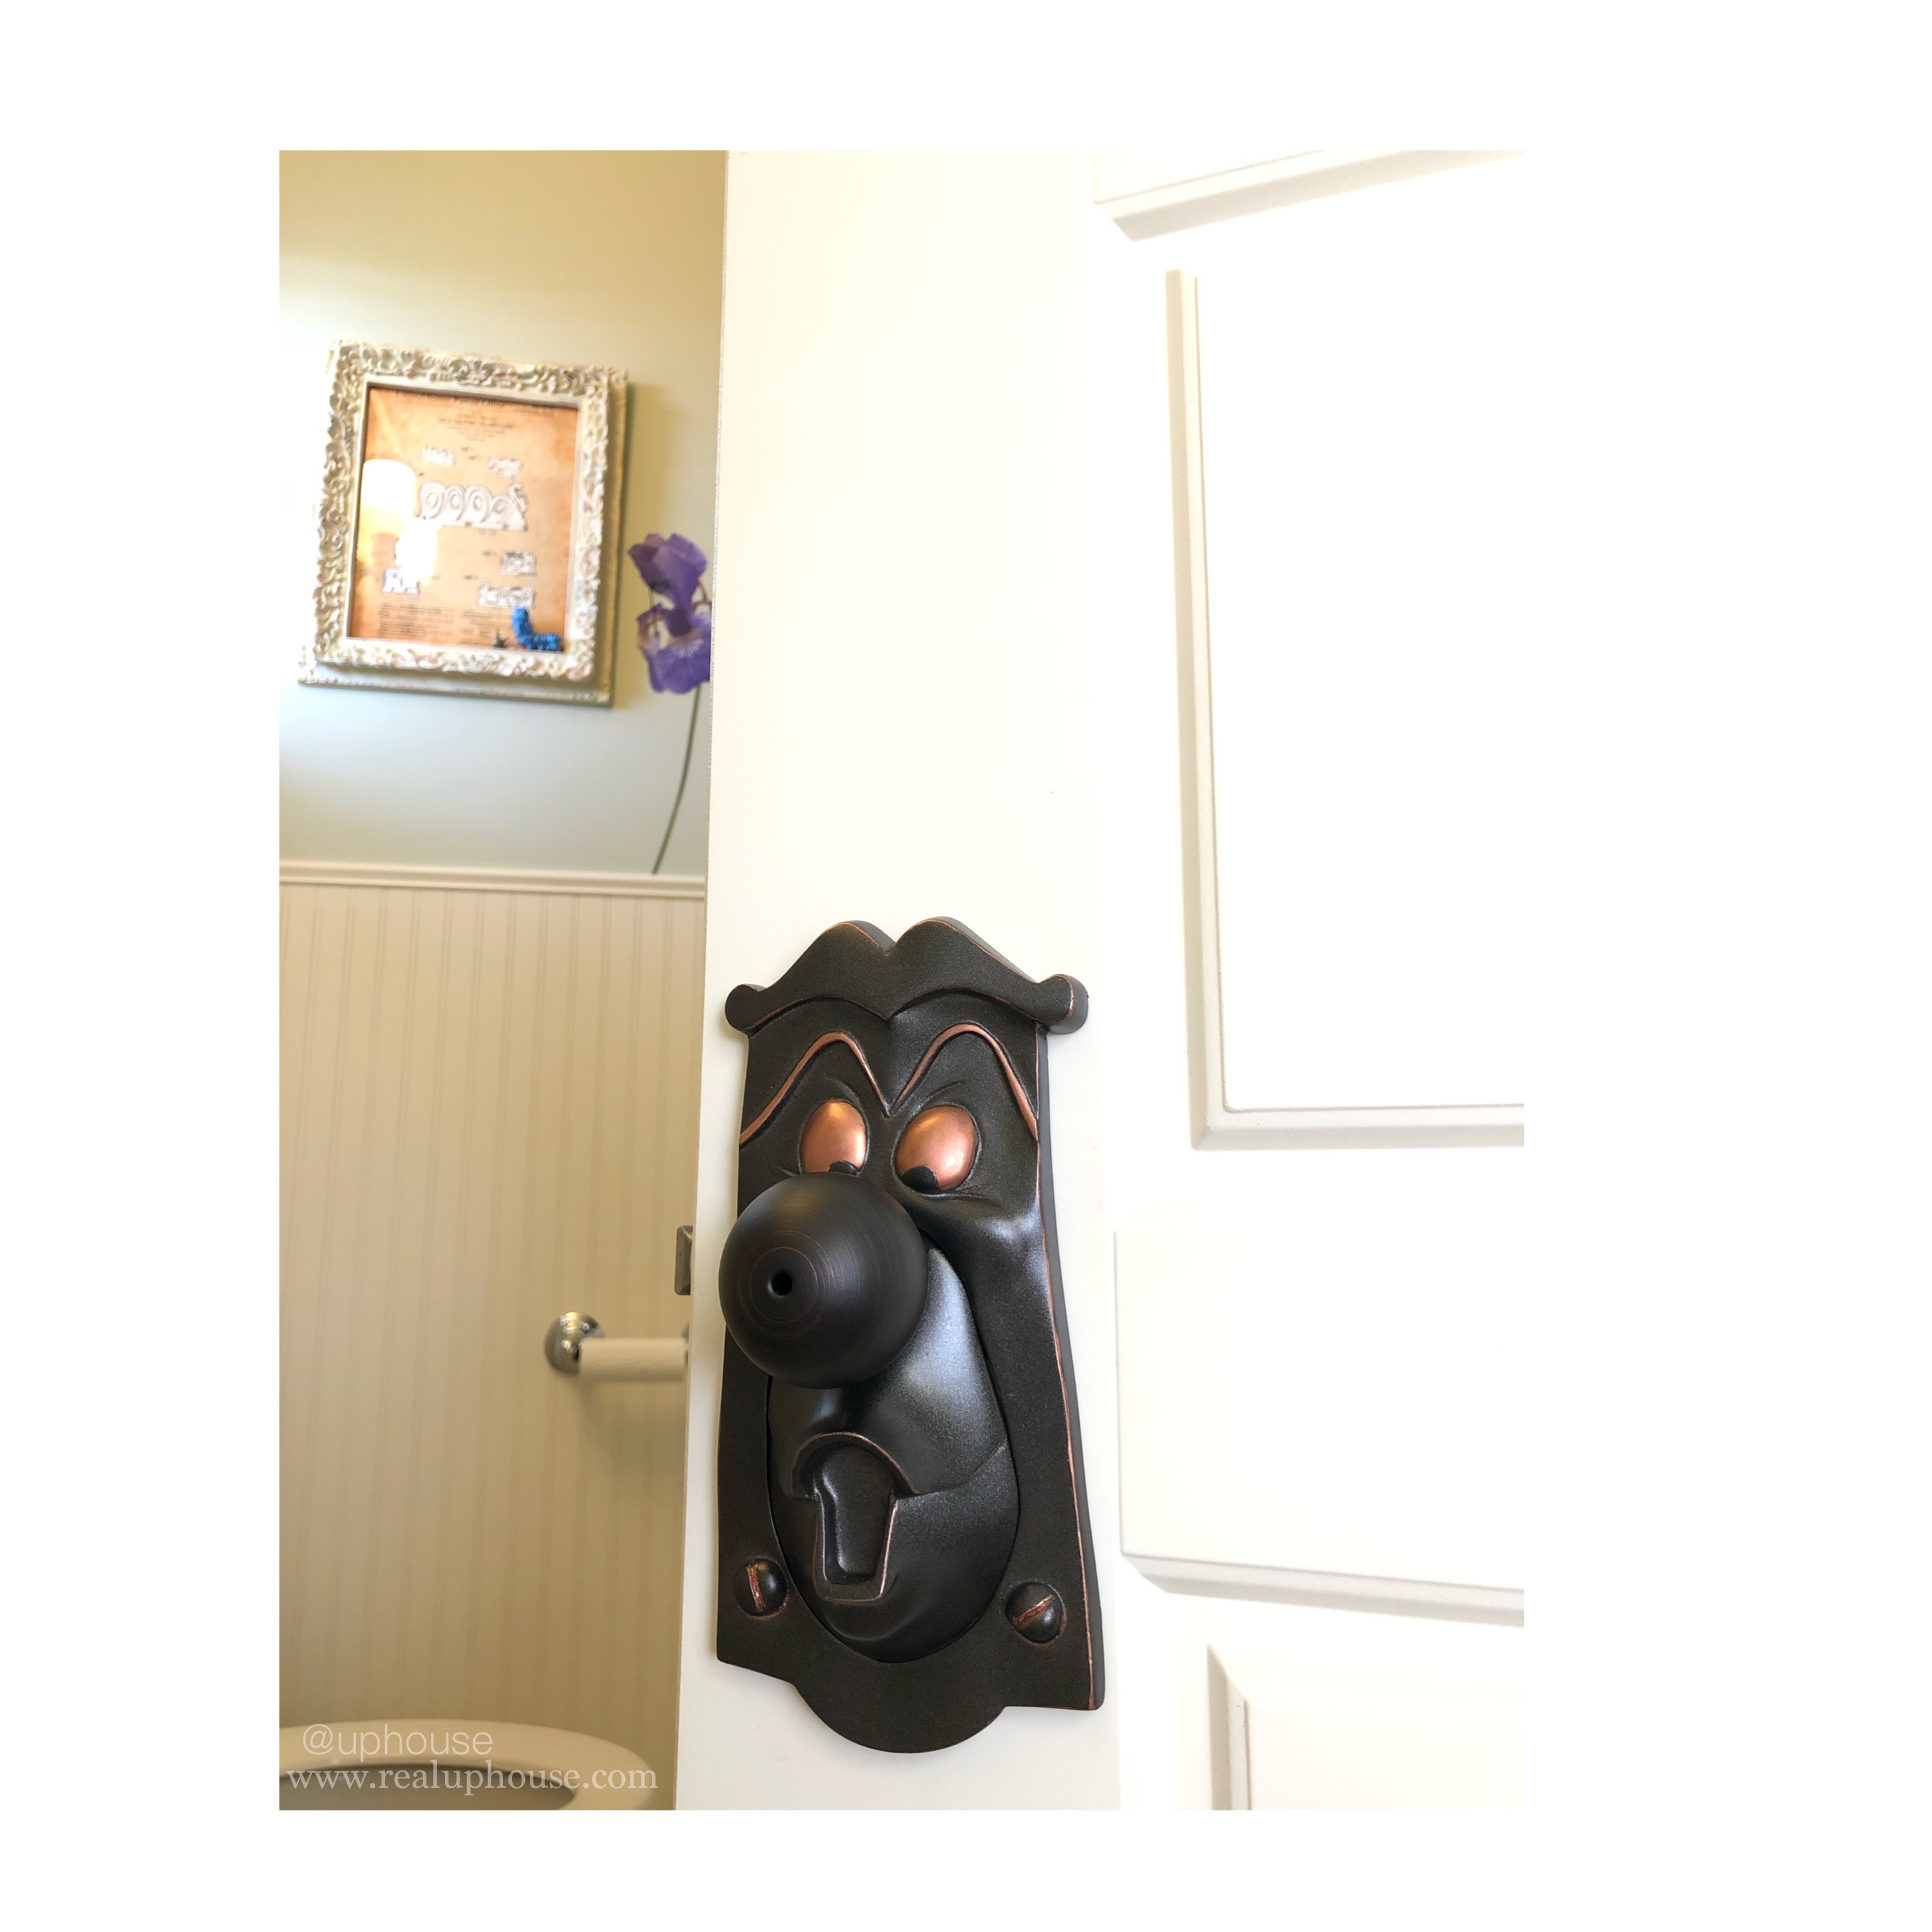
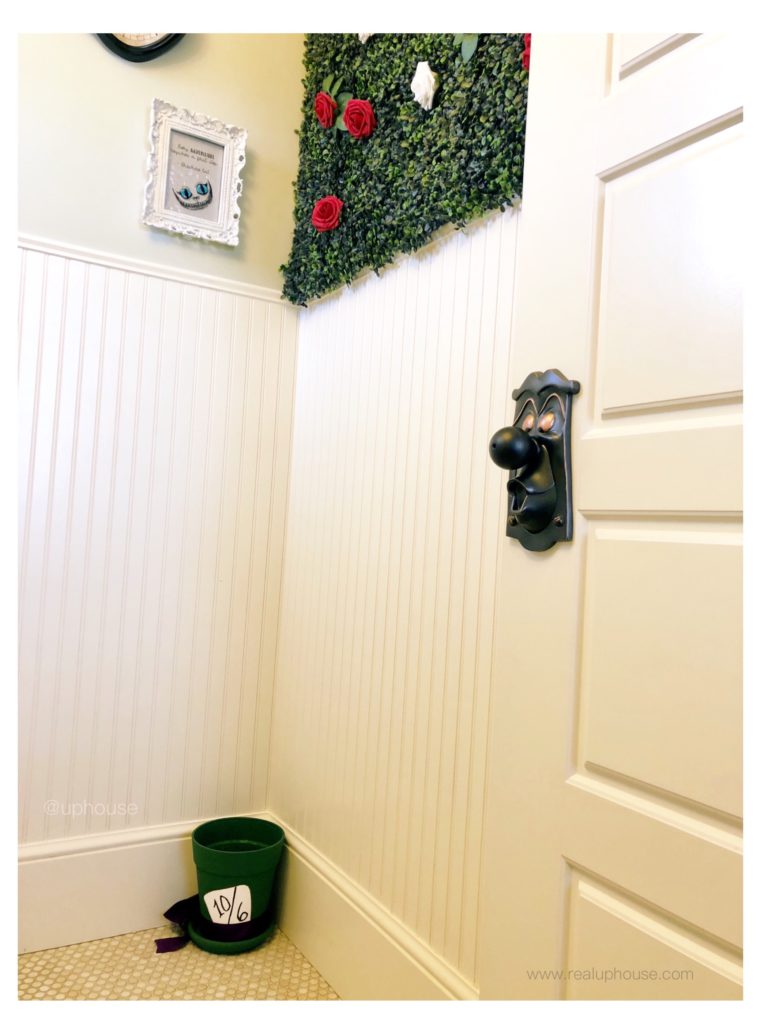
Doorknob: I had spotted this AMAZING replica Alice in Wonderland doorknob on Etsy and that was it – Wonderland-inspired bathroom began! You can find this doorknob on IG @propsculptor; it’s quality is phenomenal! Please tell him I sent you!
Here’s how my Wonderland bathroom went down, I’ll provide links below of where I purchased too.
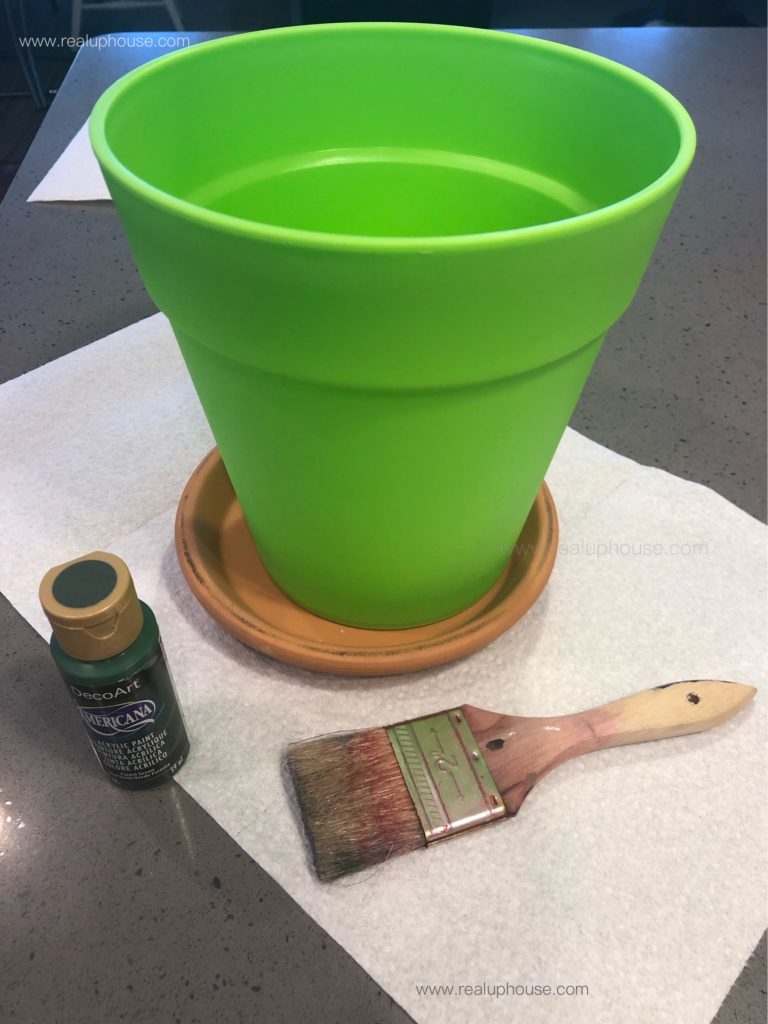
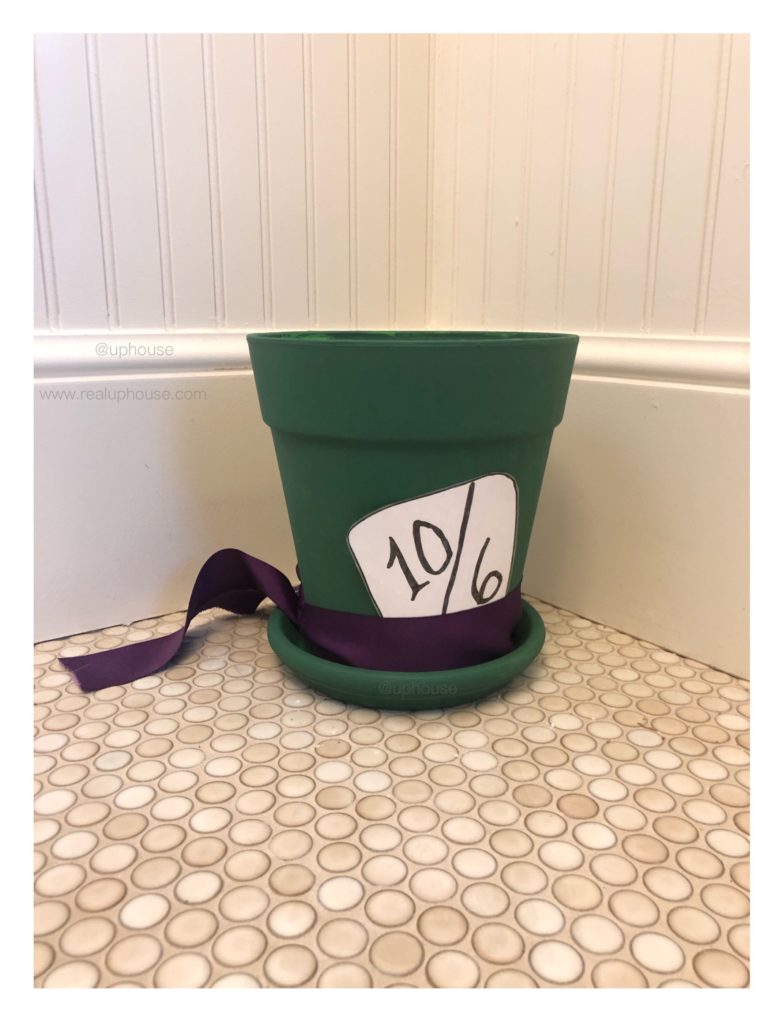
Hatter Trash Can: I purchased the green planting pot, bottom part and green paint from Hobby Lobby. I literally used a piece of envelope mail and wrote 10/6 on it and then used laminate paper (that I already had) and then put a purple ribbon and the base to secure it. Super simple.
Alice-ish w/ Talking Flowers: I found these printables online and just copied and pasted them onto one page because I needed to print multiple ones to layer my look. We found this picture of a girl with a fox years ago at Comic Con. She reminds me of my daughter with our dog, but also of Alice. So, I just went with it for our Alice-inspired room. 🙂
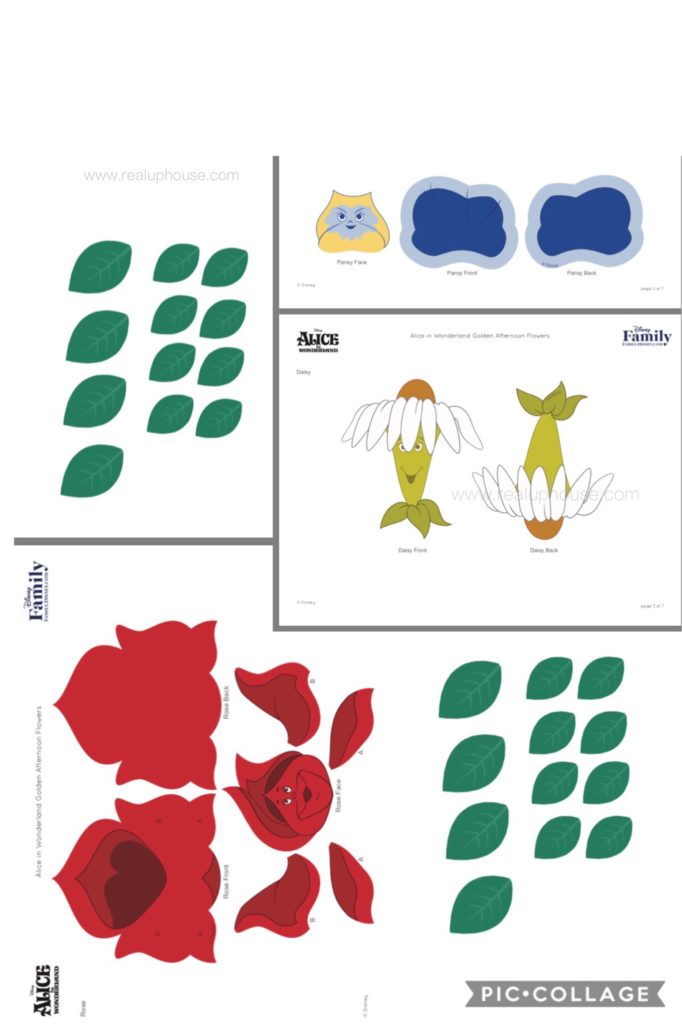
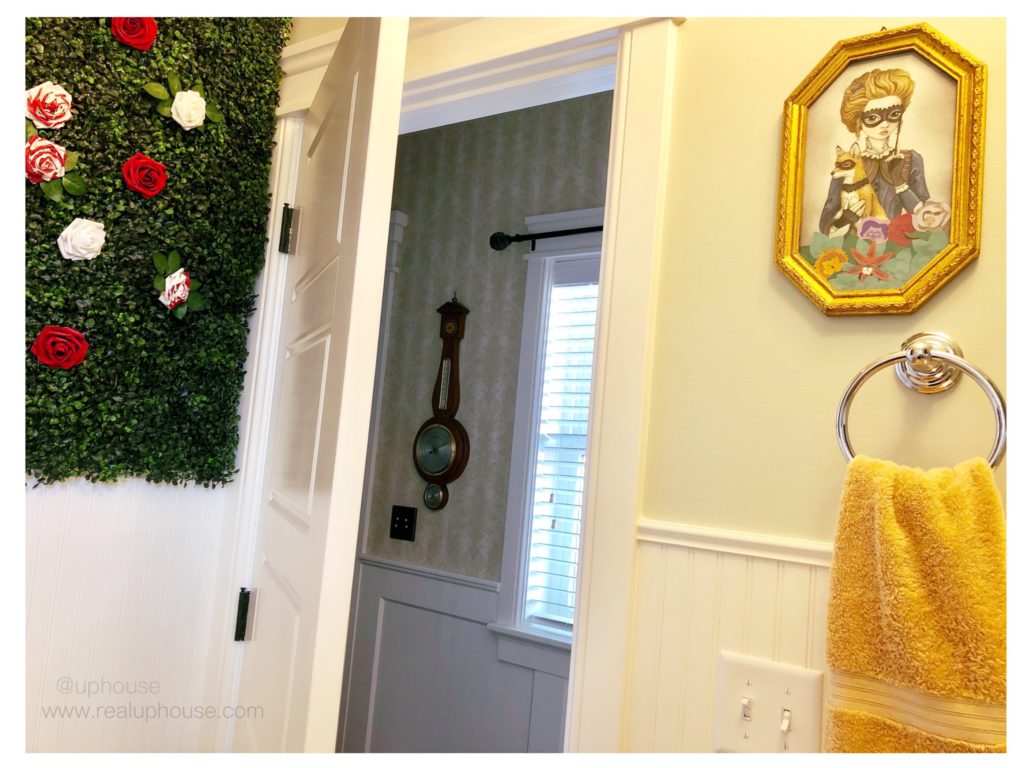
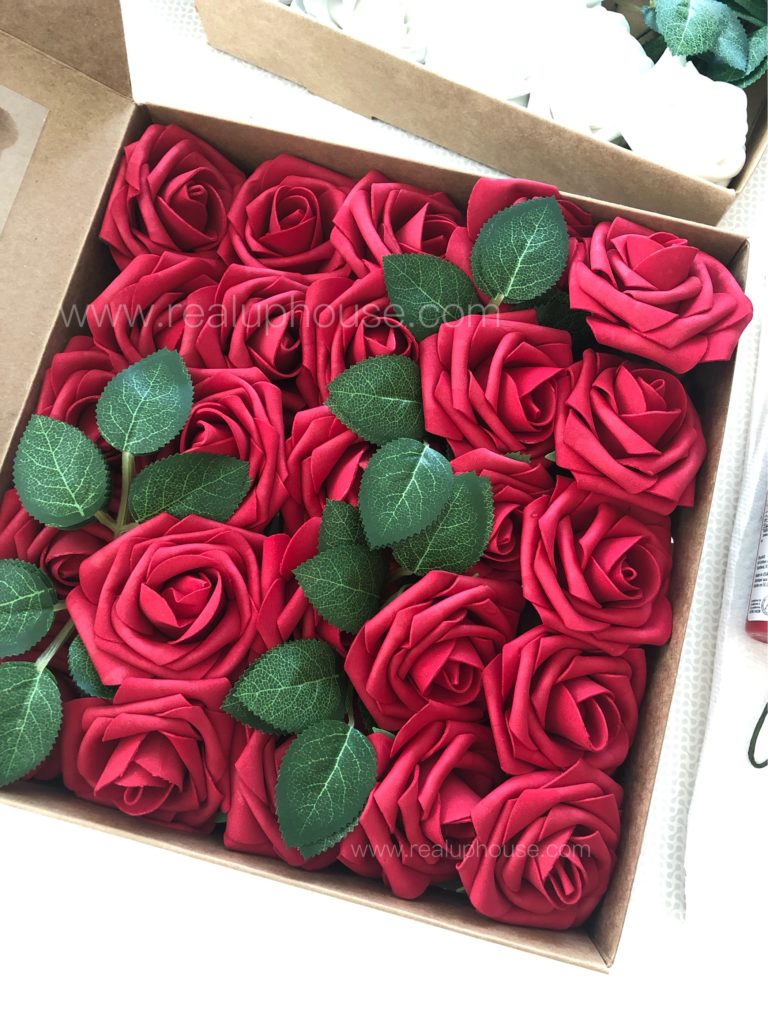
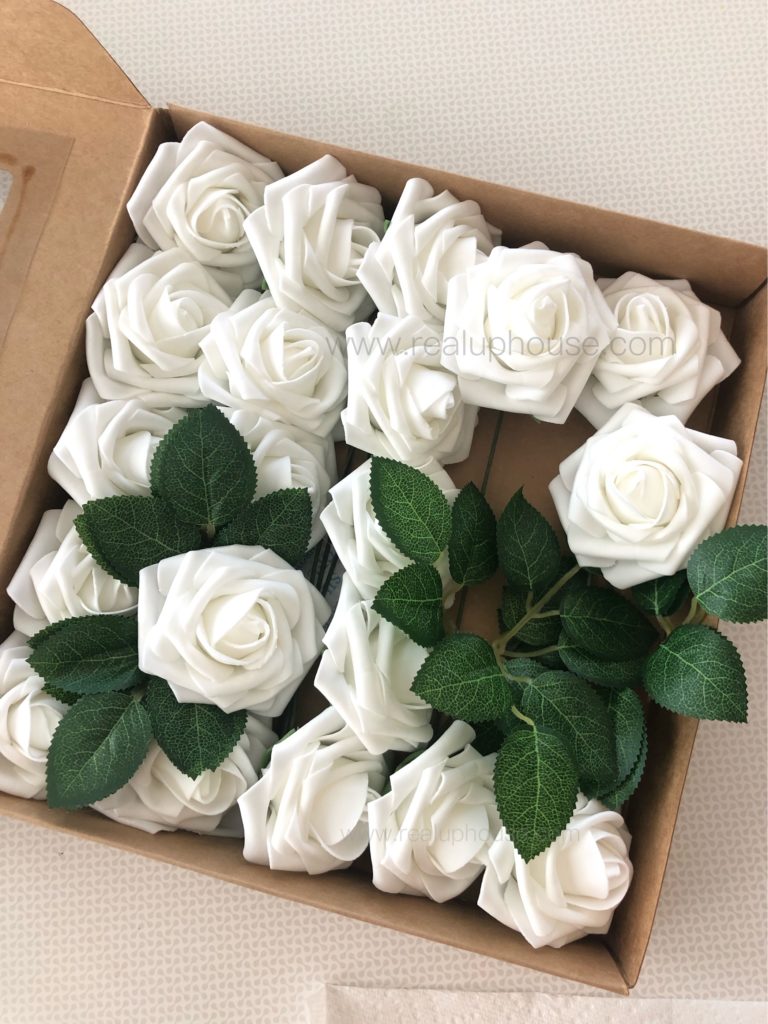
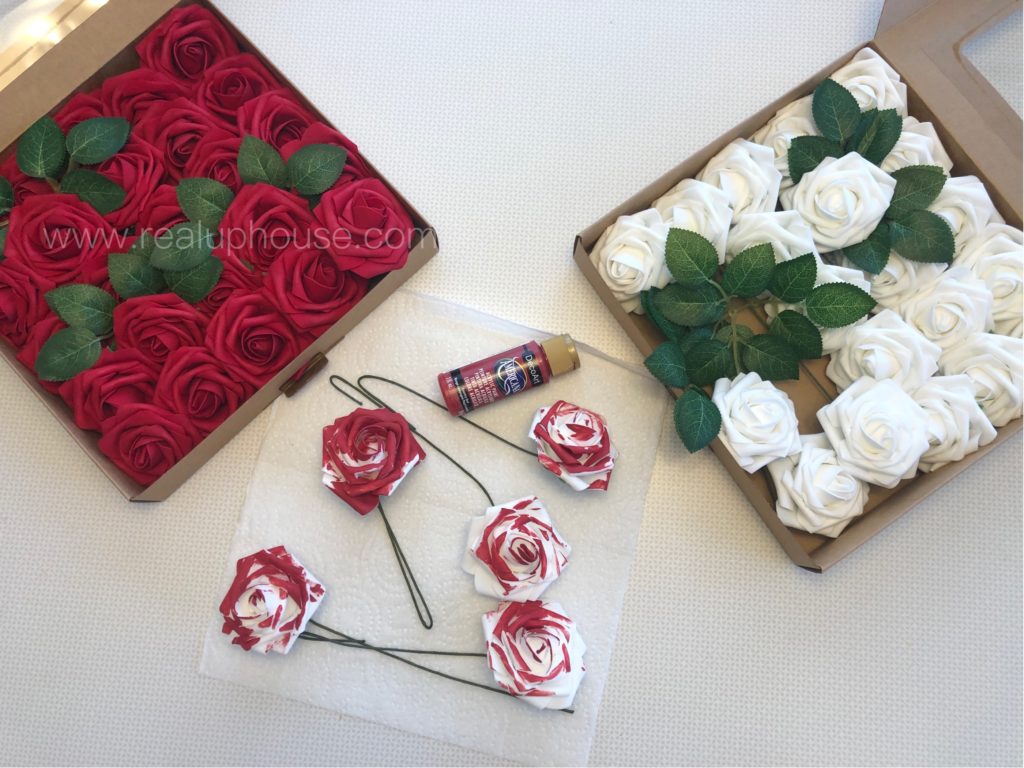
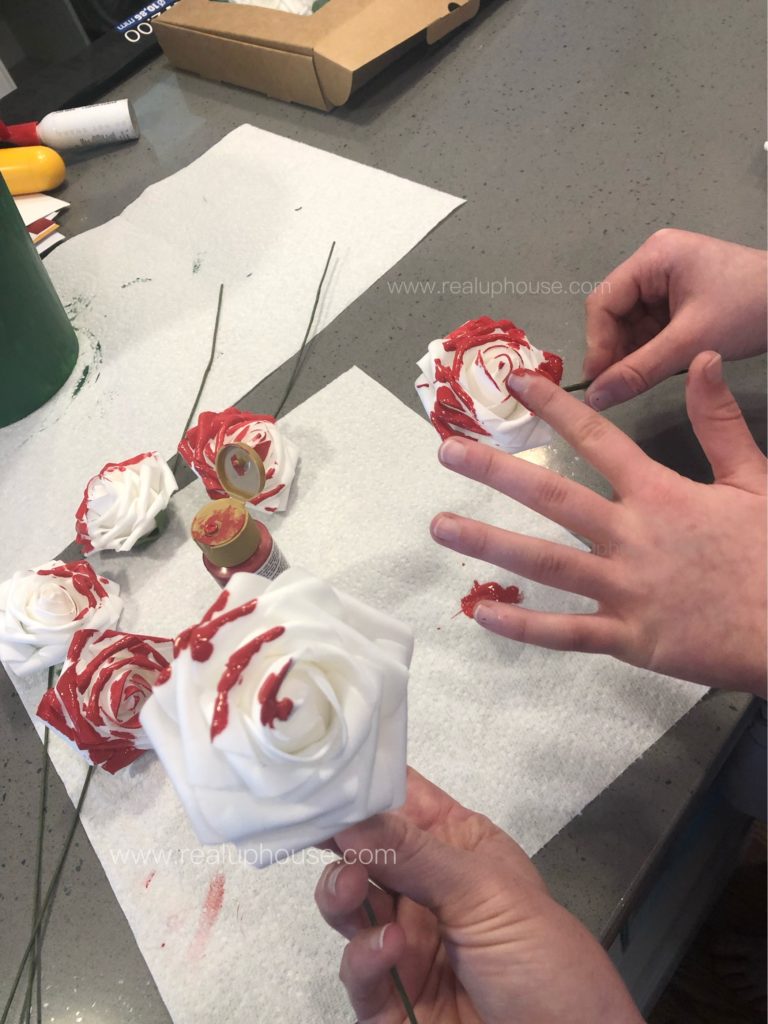
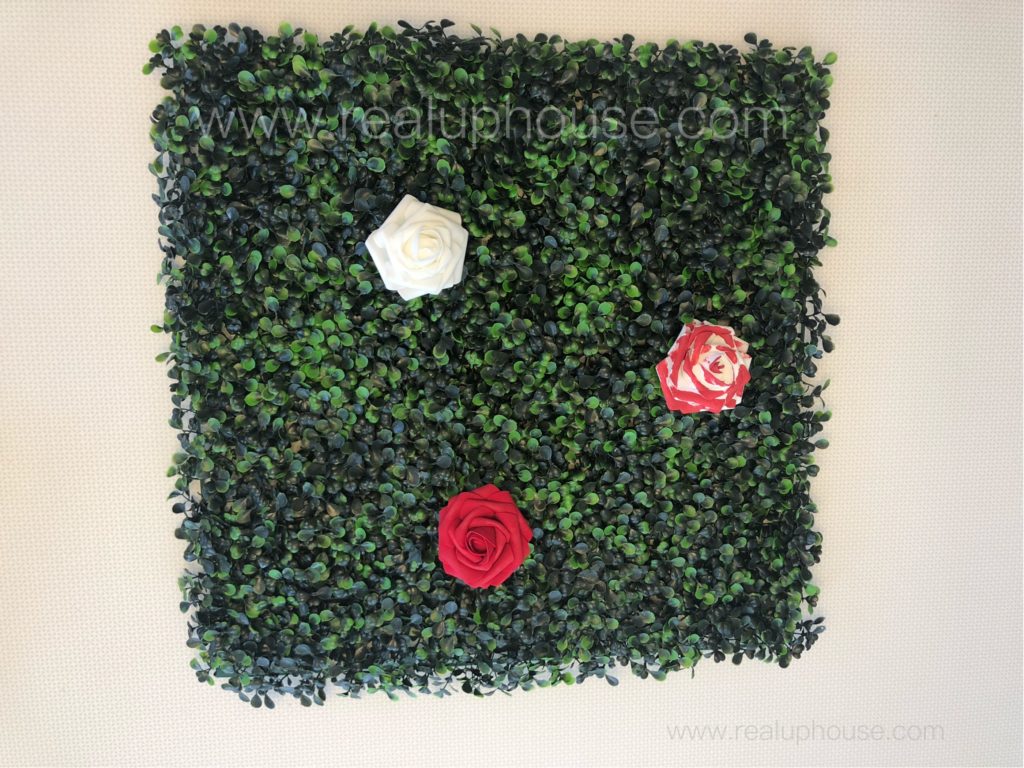
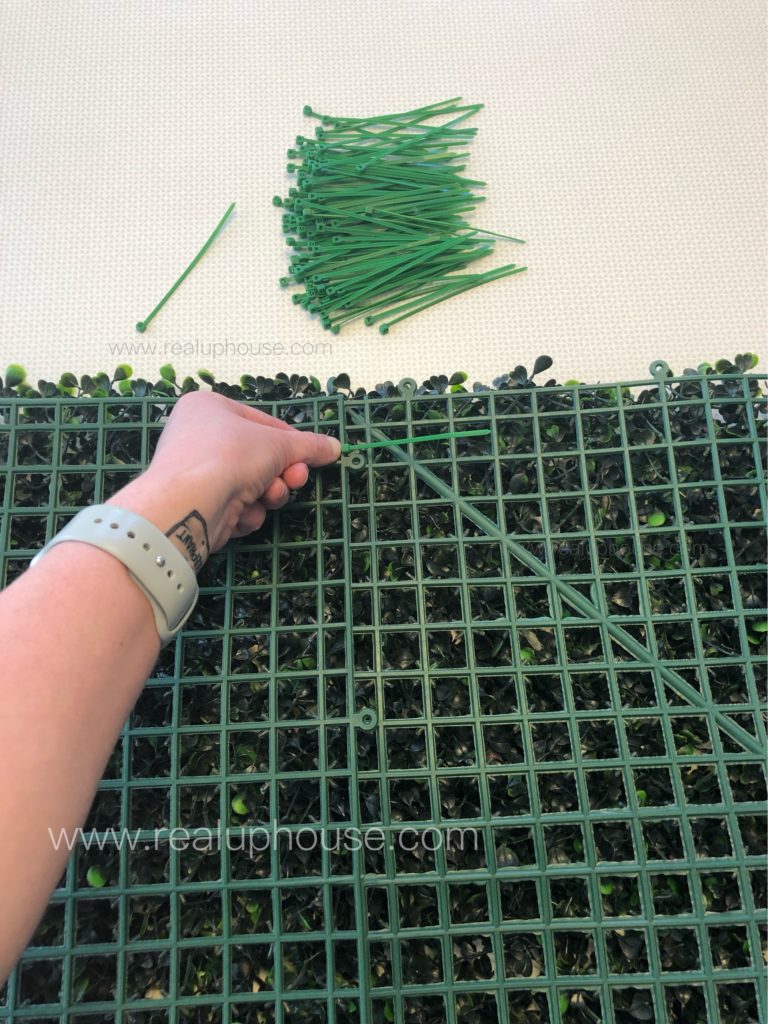
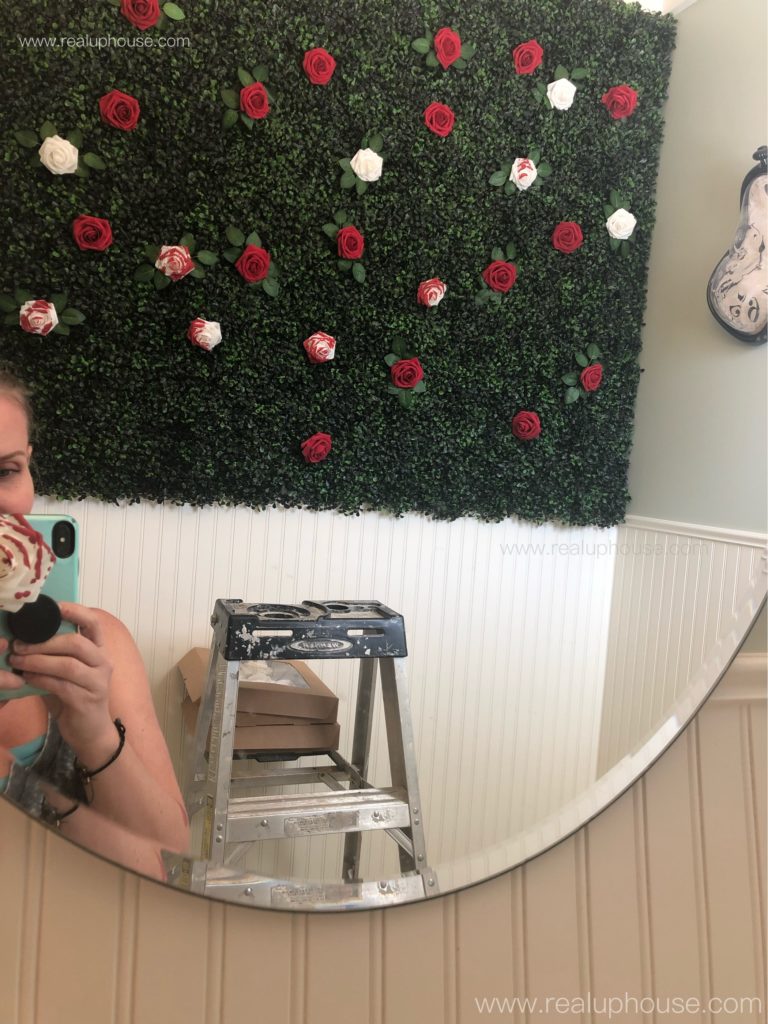
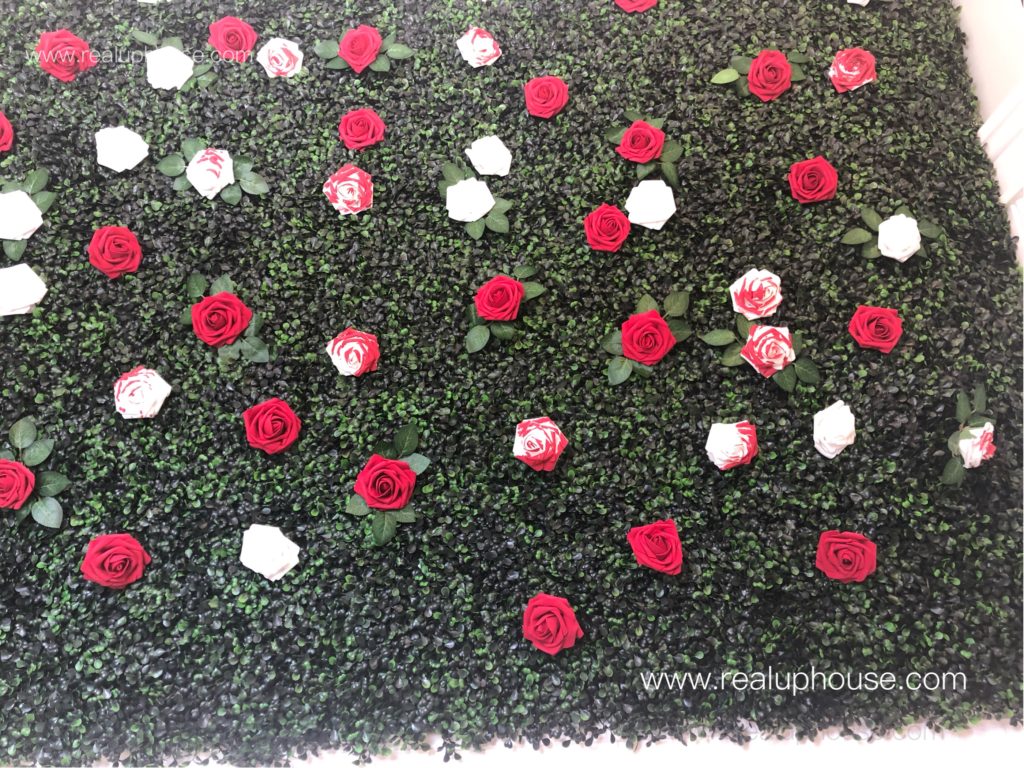
Painting the Roses Red Wall: I was most excited about this! You can order these boxwood flats from Amazon (link listed lower). It was about $100 and I still have 4 squares left, so I think it was a great deal and the life-like roses were around $15 – which was super cheap! They are gorgeous in person. The littles and I used our fingers to hand paint some of the white roses – I think it made it more fun. I did order a set of 100 small green zip ties for like $8 too to secure the boxwood squares together ALL over. As far as the flowers, I just used the stems in to secure them on. Easy peasy.
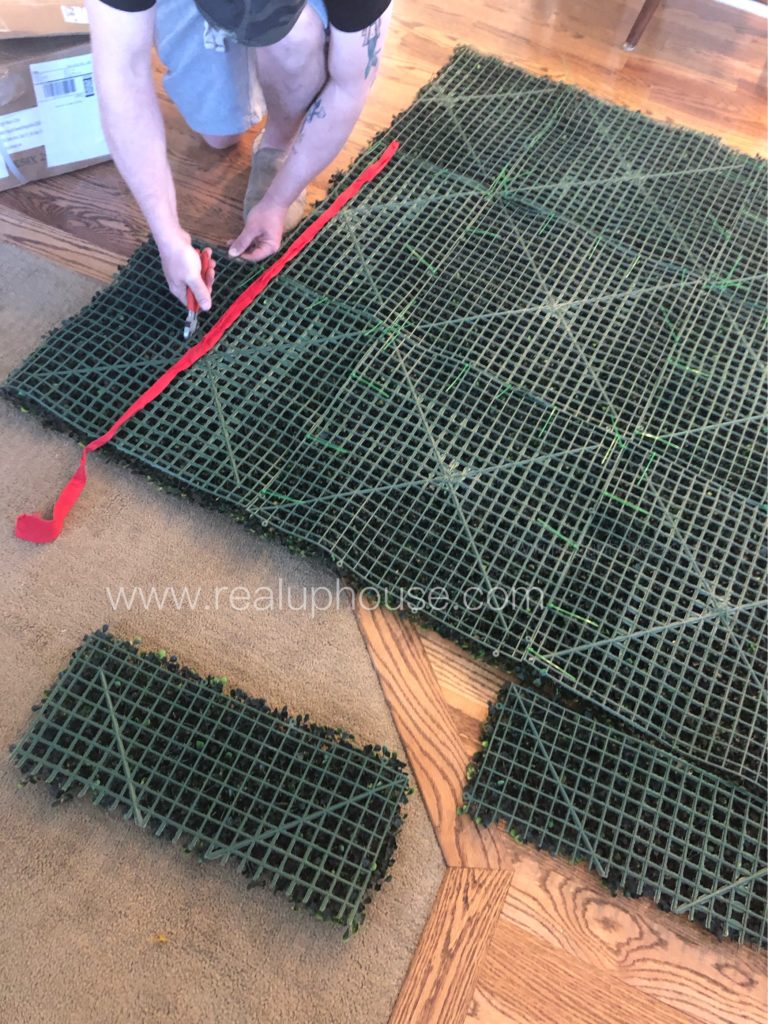
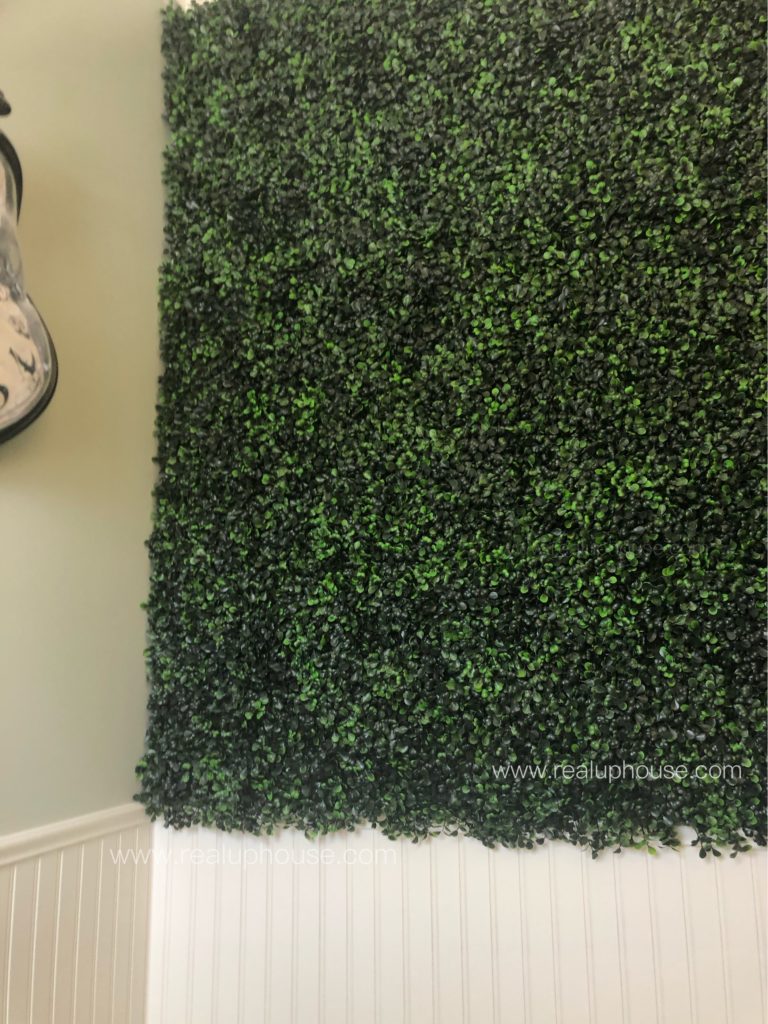
To mount it to the wall: My husband put a 2” piece of wood, the length of the wall and then screwed it into the wall in three spots. Next, we put up about 6 tiny hooks on that piece of wood, that the boxwood would easily loop onto. Finally, we used my staple gun and secured the edges to pull it taut and secured it in a few more random spots throughout. It was a pretty quick install!
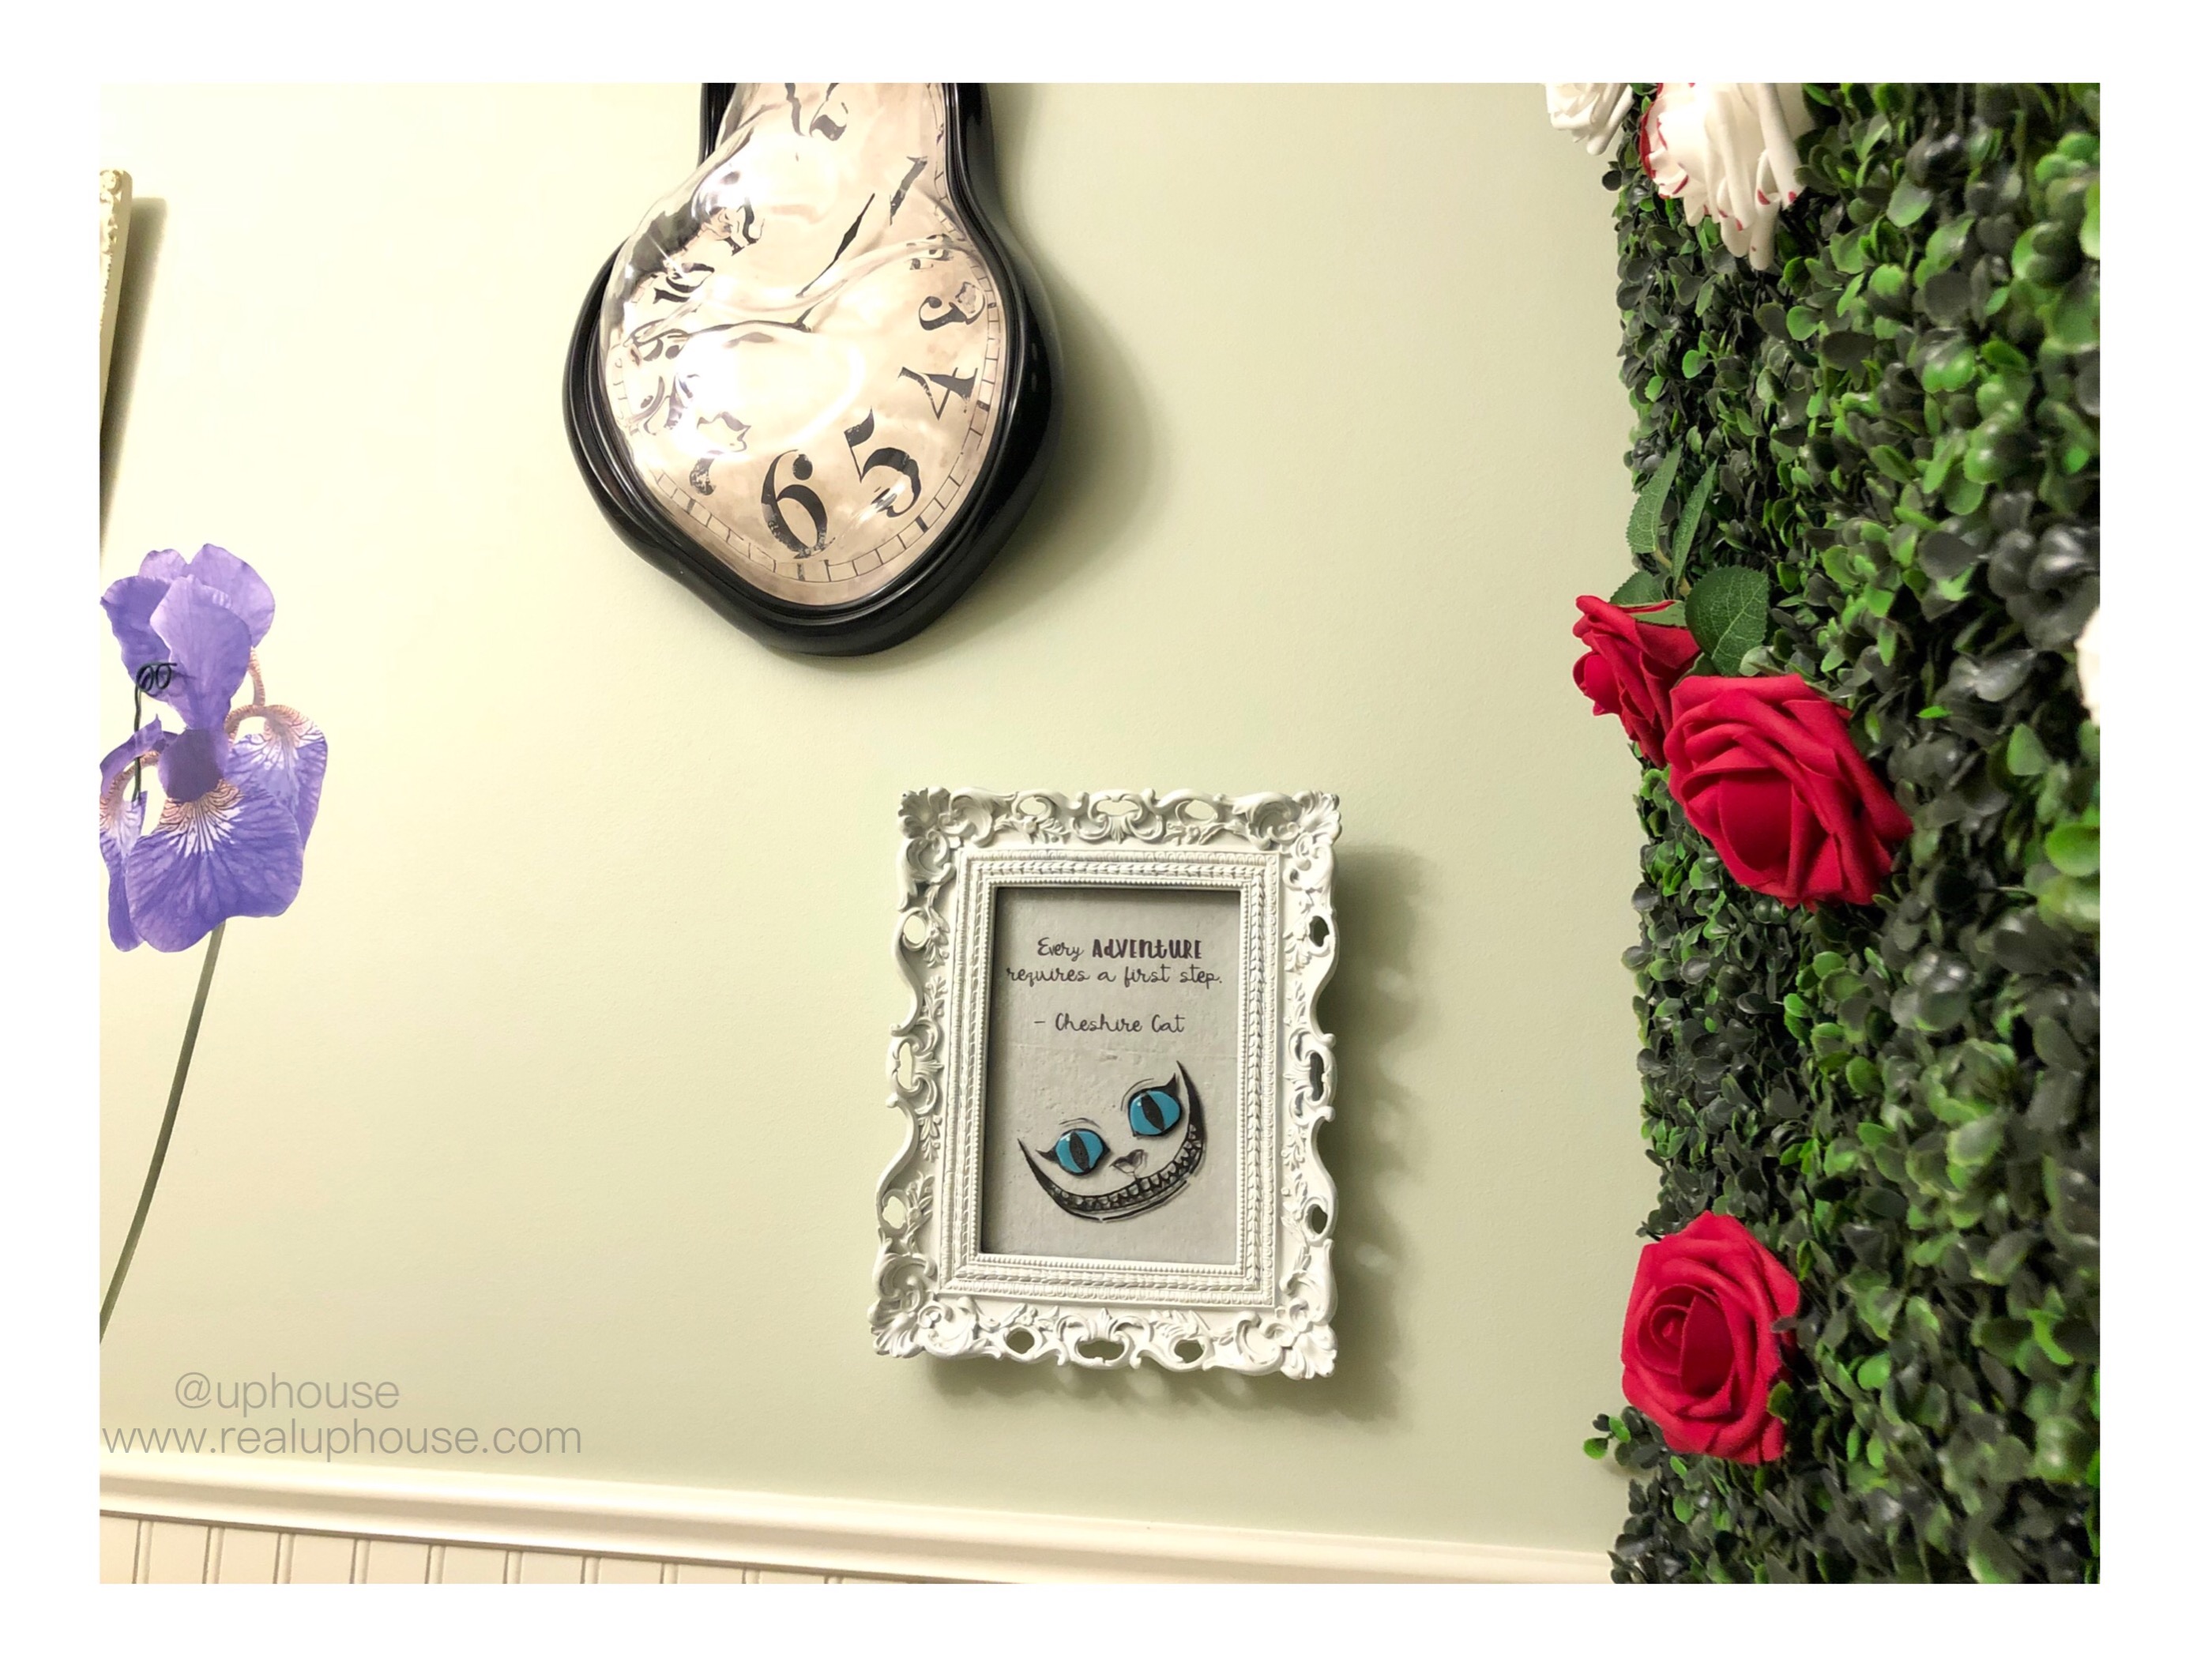
Cheshire Cat Art: I’m a fused glass artist, so I made a custom glass art piece for this room with one of my fav characters, Cheshire Cat. Chess is made of glass art and the quote is a piece of paper I printed from my computer and put behind my art and framed. Tadaa!
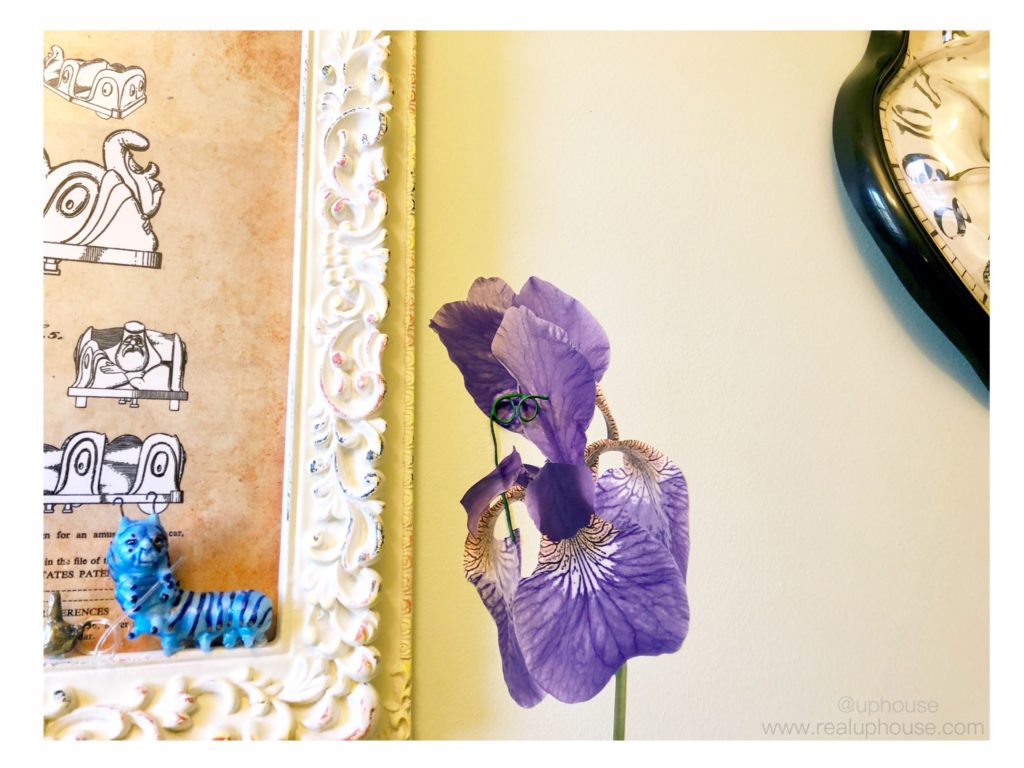
Other Art Details: I wanted a couple more details in here… so I ordered a tiny 3” Absolem from Etsy. He was super glued on my frame shown below. I already had this frame in the room but the picture didn’t work so I found this darling Alice attraction poster for $10 also from Etsy to go in that frame. The room needed one more detail, so I ordered this large Iris flower from Amazon. I cut out the extra flower because it came with two. Then I painted an “electrical twist tie” with the same green I used for my Hatter trash can and formed it into the glasses shape and used the extra petal to secure it on the wall. Boom, done!

Our Wonderland Bathroom!
I’m so happy how it turned out; what do you think?

Shopping links:
THIS is what I purchased online excluding my Etsy purchases of the two Catepillar details. I compared prices from local stores like Hobby Lobby, Walmart and Target using their coupons and this was way cheaper! Note, if you use my link, it’s an affiliate link, so I will earn some money. (Thank you!) The doorknob can be purchased from instagram @propscultor, please let him know I sent you.
I hope you enjoyed my little Disney DIY!